
Selecting Diamond Polishing Pads by Grit
4th Sep 2026
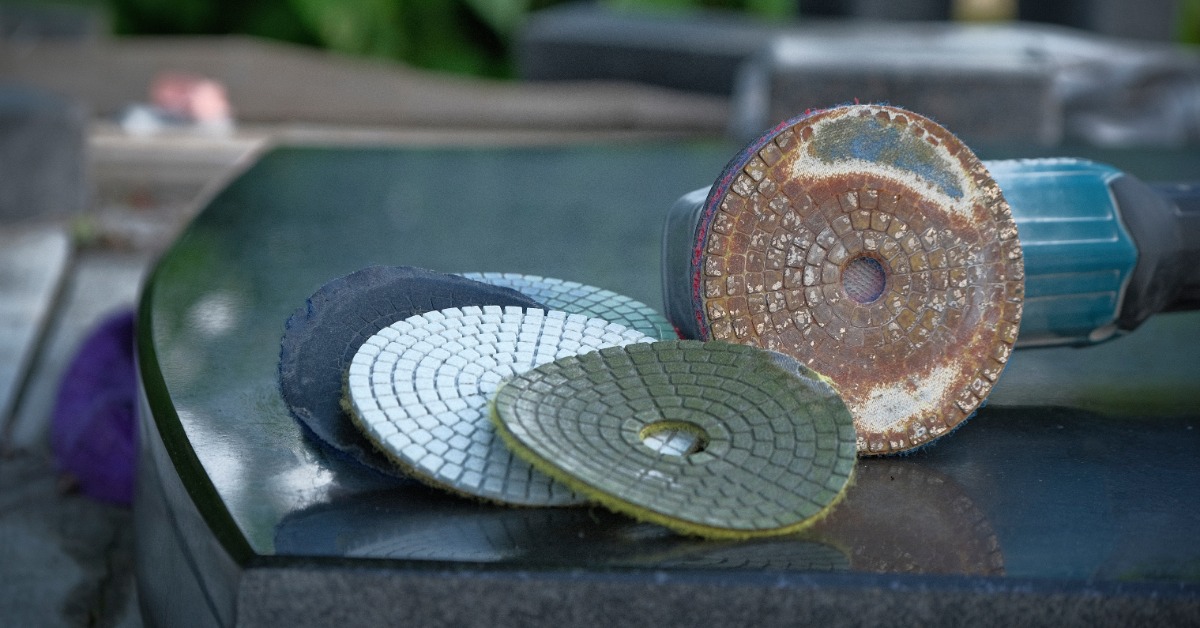
Concrete and stone polishing depends on more than the machine or technique a crew uses. Grit selection plays a central role in how effectively a polishing process removes imperfections, refines the surface, and produces the desired level of shine. Each grit serves a specific purpose, so choosing the correct progression helps professionals avoid wasted time, unnecessary wear, and inconsistent results. Understanding how grit levels work gives contractors and facility professionals greater control over every stage of floor restoration and finishing. Below, Cleaning Stuff explains how to select diamond polishing by grit and why this distinction matters.
Understanding What Grit Means in Floor Polishing
Grit numbers describe the relative coarseness or fineness of the abrasive material that contacts the floor during polishing. Lower numbers indicate a more aggressive abrasive, while higher numbers provide increasingly fine refinement and shine. A coarse grit removes more material with each pass, which makes it useful for correcting visible surface problems or beginning a substantial restoration project. Fine grits remove far less material and instead refine the appearance that earlier stages create.
This progression explains why professionals rarely choose one grit and expect it to handle an entire polishing project. Each stage prepares the floor for the next, gradually reducing the scratch pattern until the surface reaches the desired clarity and gloss. Skipping too far ahead can leave scratches behind that a finer abrasive cannot efficiently remove. Following a logical grit sequence gives the operator better control over the appearance and consistency of the finished floor.
Starting With Coarse Grits for Surface Correction
Coarse pads provide the cutting action needed when a floor has noticeable scratches, blemishes, or other imperfections that require significant correction. Depending on the pad system and surface, these products may fall around the 30- to 100-grit range and can establish the foundation for the remaining polishing steps. Operators should avoid starting aggressively when the floor only needs light restoration because unnecessary abrasion can create additional work. A careful inspection determines whether the surface truly needs a low starting grit.
Professionals should also remember that aggressive cutting leaves a more noticeable scratch pattern behind. The next grit must remove those scratches before the crew advances to finer stages, so consistency matters from the beginning. Operators should make overlapping passes and maintain steady machine movement to produce an even result across the working area. Rushing the initial correction stage can leave irregularities that become increasingly difficult to address later in the process.
Moving Into Medium Grits for Refinement
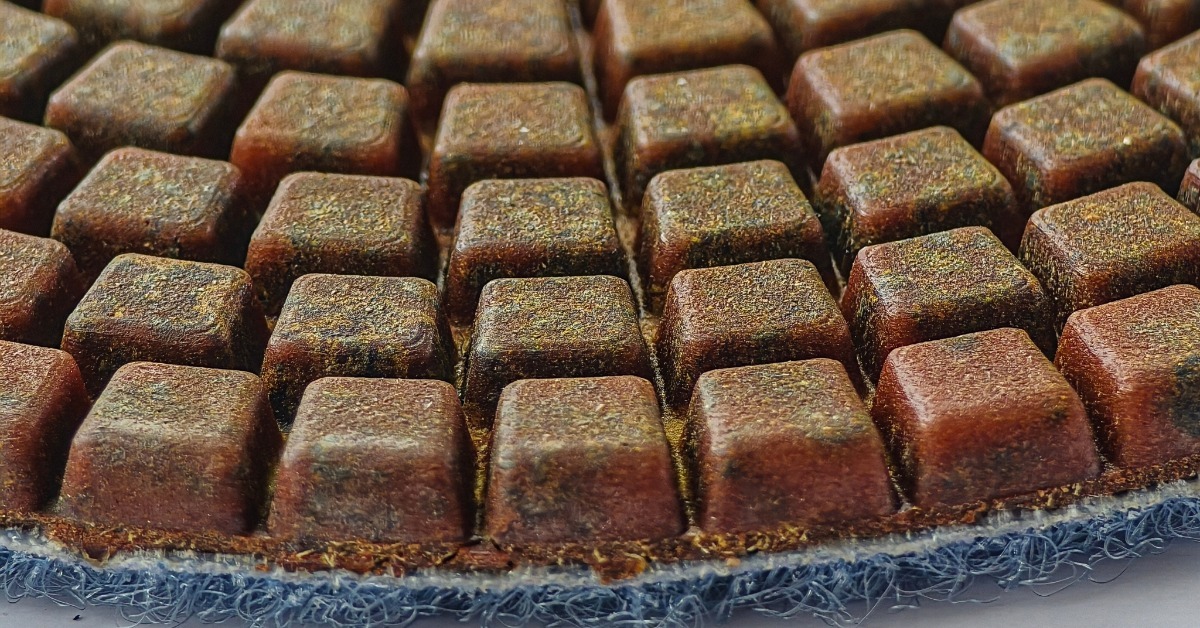
Medium grits create an important transition between aggressive surface correction and the finer stages that develop visual clarity. Products within this portion of the sequence removes scratches left by lower grits while continuing to smooth minor imperfections. For many projects, this stage makes the floor look noticeably more uniform even though it has not reached its final level of polish. Careful work at medium grit levels establishes the consistent foundation that higher grits need.
Operators should inspect the entire work area before moving forward because remaining scratches often become more obvious as the surface gains clarity. If the current grit has not eliminated marks from the previous step, advancing to a finer product rarely solves the problem efficiently. Another controlled pass at the current grit usually offers a better solution than trying to compensate later. A disciplined approach can save time and improve the final appearance.
Choosing Fine Grits To Build a Polished Finish
Fine grits shift the process away from significant material removal and toward surface refinement. Depending on the system, operators may progress through levels such as 400, 800, 1500, or even higher to create increasing degrees of smoothness and reflectivity. The ideal stopping point depends on the customer’s expectations, floor material, facility conditions, and desired maintenance requirements. Not every floor needs the highest available grit to achieve an attractive professional finish.
A retail environment might benefit from a bright, reflective appearance, while a warehouse or utility area may prioritize clean refinement without an intense mirror-like gloss. Contractors can therefore choose a final grit according to the practical and visual goals of each project. This flexibility makes a well-planned polishing sequence more valuable than simply aiming for the highest possible number. The right finish should complement the way people use and maintain the space.
Following a Logical Grit Progression
A systematic grit progression allows each abrasive stage to correct the scratch pattern that the previous stage created. Crews should consult product recommendations because manufacturers may design pad systems around slightly different grit sequences and polishing methods. Surface hardness, machine speed, moisture, pad composition, and operator technique can also affect how quickly each stage reaches completion. Testing a small section provides useful information before the crew commits to a process across the entire floor.
A typical progression may include several stages rather than a dramatic jump from coarse correction directly to high-gloss polishing. The exact sequence can vary, but operators should focus on achieving the objective of each stage before advancing. Professionals commonly evaluate several factors throughout the process, including:
- Existing scratches, stains, and surface defects
- Concrete or stone type and overall surface hardness
- The scratch pattern remaining after each grit
- The level of sheen or gloss the customer wants
- Machine type, speed, and operating requirements
- Wet versus dry polishing recommendations
Matching Pads to Concrete and Stone Surfaces
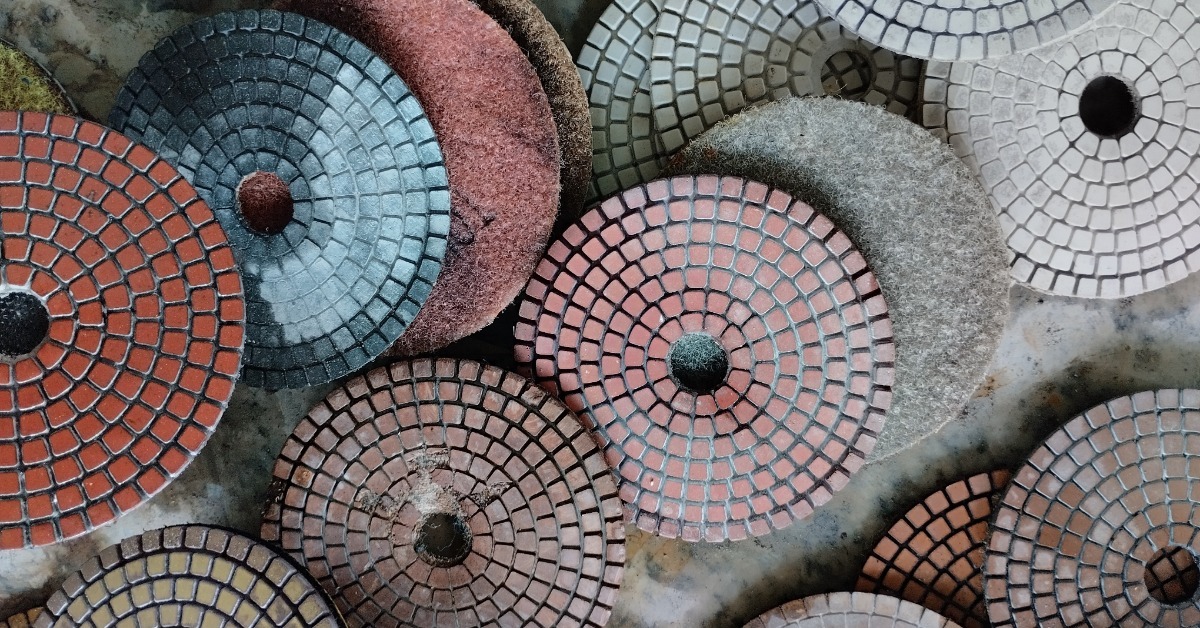
Different flooring materials require different levels of abrasion, pressure, and polishing time, even when crews pursue similar finishes. Concrete hardness can vary considerably, while natural stone introduces additional differences in mineral composition and sensitivity. Using diamond polishing pads that suit the material and the polishing stage helps crews refine surfaces without relying on unnecessarily aggressive techniques. Product specifications can guide professionals toward compatible options before work begins.
Concrete polishing often requires operators to account for surface hardness and the condition of the slab before choosing a starting grit. Stone floors may require greater attention to the characteristics of the specific material because marble, granite, and other surfaces don’t respond identically to abrasion. Testing an inconspicuous area can reveal how quickly the selected product cuts and whether it creates the expected scratch pattern. That simple test can prevent costly corrections across a much larger area.
Selecting the Right Products for a Professional Finish
Cleaning Stuff gives contractors, facility teams, and floor care professionals access to the supplies they need for demanding concrete and stone maintenance projects. With experience as a janitorial equipment and supply distributor and products shipped from its own warehouse or trusted manufacturers, we help customers find practical equipment for professional floor care. Selecting diamond polishing pads by grit allows these products to work efficiently and effectively from initial correction through final refinement. Explore Cleaning Stuff’s floor polishing supplies to find the right options for your next concrete or stone project.